SecureVideo has HIPAA compliant cloud recording as a premium feature. To request pricing to enable (or to disable) the recording feature on your account, please contact our Support Team at [email protected] .
This support article illustrates how to share a session recording, assuming that sharing is already enabled on your account and that (if you are not an Account Administrator or Clinical Supervisor) you have already been granted the ability to share, and that any user you would like to share with already has a SecureVideo user account with your organization.
There is an option to share recorded sessions with non-organization users, but this can only be enabled or disabled upon request by an Account Administrator. Requests should be sent from the email address associated with anAccount Administrator, to our support team at [email protected] and specify the maximum length of time a user should be allowed to share a recording.
You may also be interested in:
Share recordings with other users in your organization
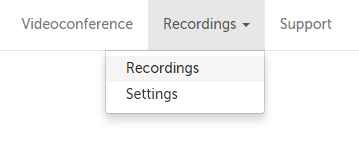
1. Click on the "Recordings" tab and select "Recordings" from the drop-down menu.
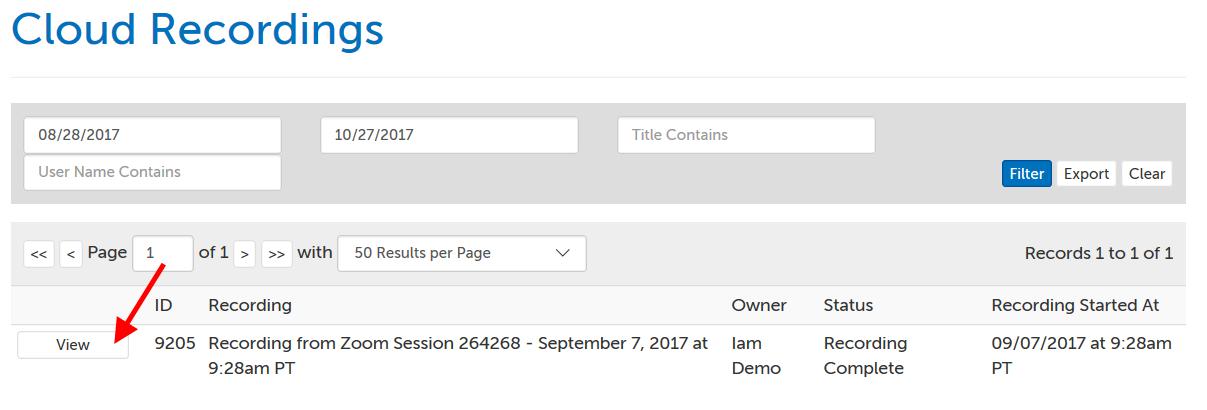
2. Any recordings created in the last 60 days (that you have access to) will automatically appear on the next page. Change your search parameters if the recording you want doesn't appear. Click the "View" button for the recording you want to edit.
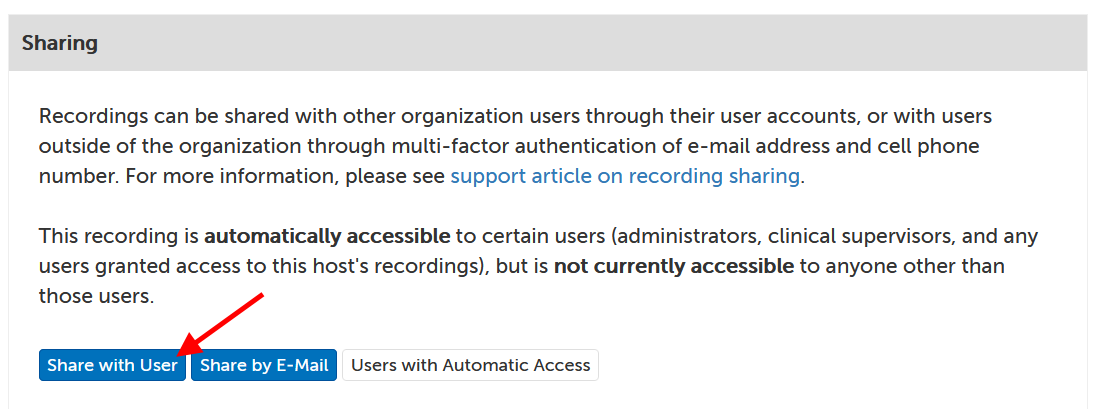
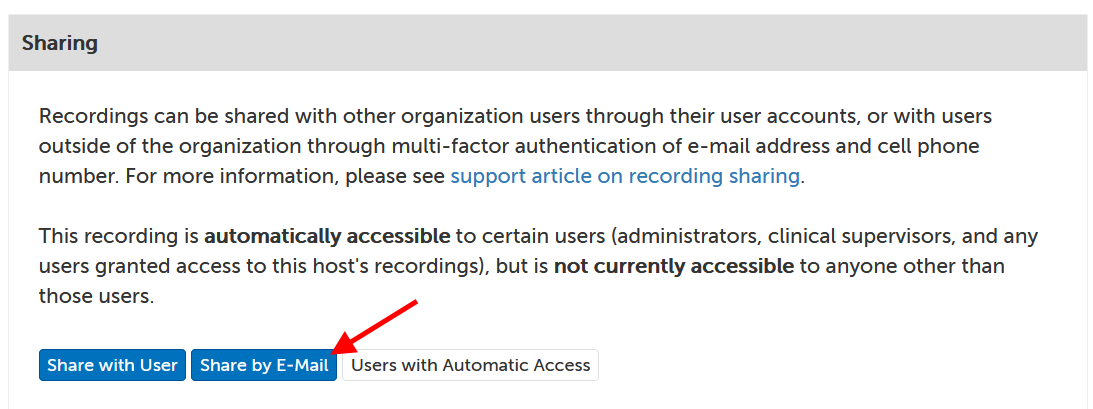
3. If you are an Account Administrator, Clinical Supervisor, or the recording owner, you will see a section for Sharing. Click "Share with User".
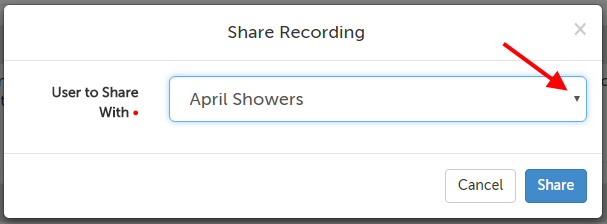
4. From the drop-down menu, select the user you would like to share the recording with.
- You can only share recordings with people who have a user account in your organization. For patients, we recommend creating a participant-only account.
5. The user you shared the recording with, will now be able to view it from their account.
Share recordings with non-account holders
There is an option to share recorded sessions with non-organization users, but this can only be enabled or disabled upon request by an Account Administrator. Requests should be sent from the email address associated with anAccount Administrator, to our support team at [email protected] and specify the maximum length of time a user should be allowed to share a recording.
1. Click on the "Recordings" tab and select "Recordings" from the drop-down menu.
2. Any recordings created in the last 60 days (that you have access to) will automatically appear on the next page. Change your search parameters if the recording you want doesn't appear. Click the "View" button for the recording you want to edit.
3. If you are an Account Administrator, Clinical Supervisor, or the recording owner, you will see a section for Sharing. Click "Share by E-mail".
- This option can only be enabled or disabled upon request by an Account Administrator. Requests should be sent from the email address associated with anAccount Administrator, to our support team at [email protected] and specify the maximum length of time a user should be allowed to share a recording.
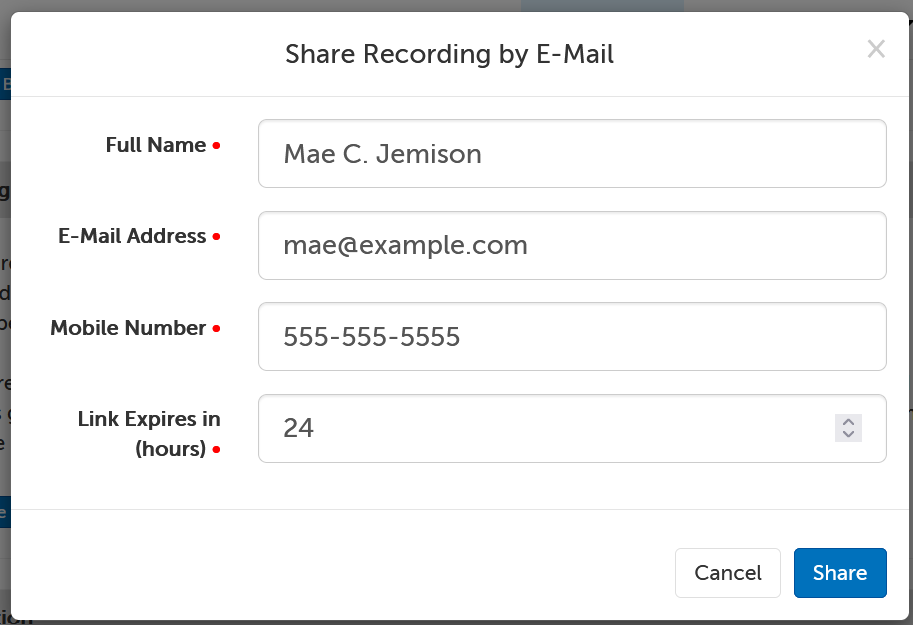
4. In the window that appears, enter the following information for the user you would like to share access with:
- Full Name: the name that should be associated with the access given.
- E-Mail Address: a valid email address where the user can be sent an access link.
- Mobile Number: a valid mobile number where that the user can use as 2-factor authentication to access the recording.
- Link Expires in (hours): the minimum expiry is 1 hour, and the maximum is determined by your account administrator's request.
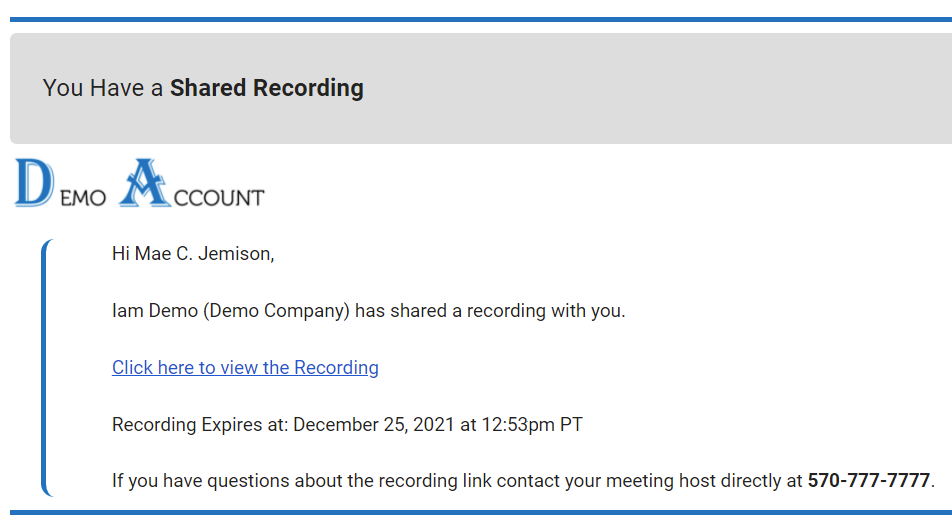
5. An entry will appear on the recording page, and the user will be emailed a link.

6. When the user receives the email, it will look something like the below example.
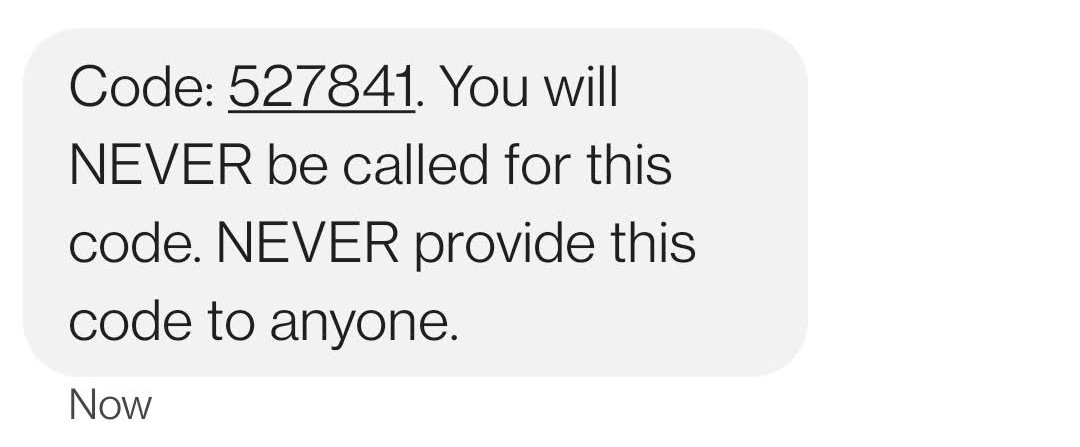
7. Clicking on the link will open a new webpage with a prompt for an access code. A timer will count down from 5 minutes.
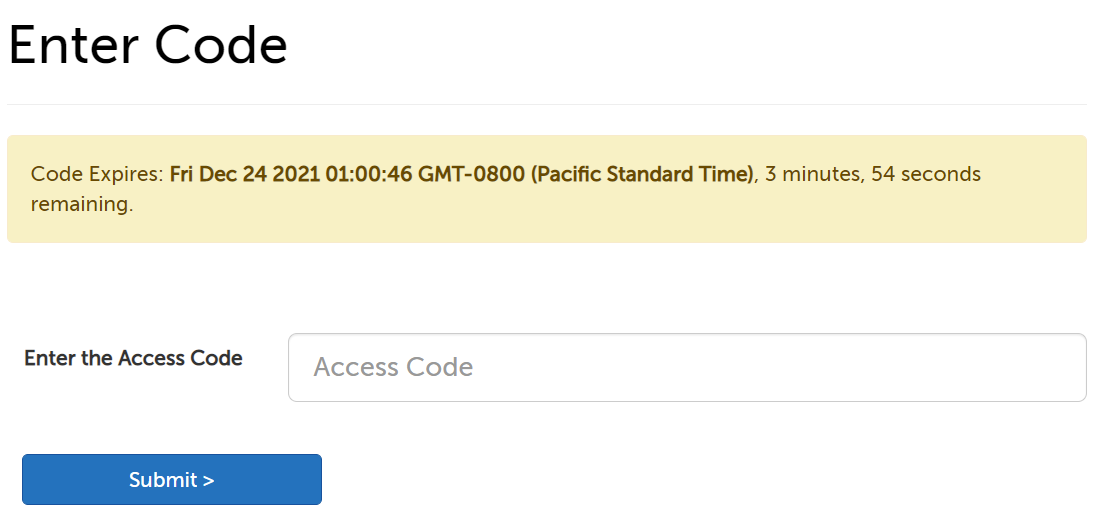
A text will be sent at the same time to the mobile number provided for the user (from our shortcode 76938), with the access code they will need to confirm their identity. If they do not enter this code by the end of the 5 minutes, the code will expire, and they will need to click the link in the email again to receive another code.
8. After entering the code and clicking "Submit", the user will be able to view the recording shared with them.
This article was last reviewed by our Support team on December 24, 2021.