Mutli-factor authentication (MFA) adds a layer of security to protect your account by requiring you to authenticate with SMS in addition to logging in with the correct email address and password.
Multi-factor authentication requires you to have a cell phone number in your SecureVideo account, in the "Mobile Number to Receive Texts Instead of E-Mails" field. By default, the system will only prompt you for the Multi-Factor Validation Code once every 30 days (if you use the same browser and device), but this setting ("Multi-Factor Validation Code Expiration") can be changed as described below.
You may also be interested in:
Enable Multi-Factor Authentication (for the whole organization)
This requires the Account Administrator role.
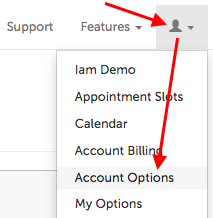
1. Click on the profile icon and select "Account Options".
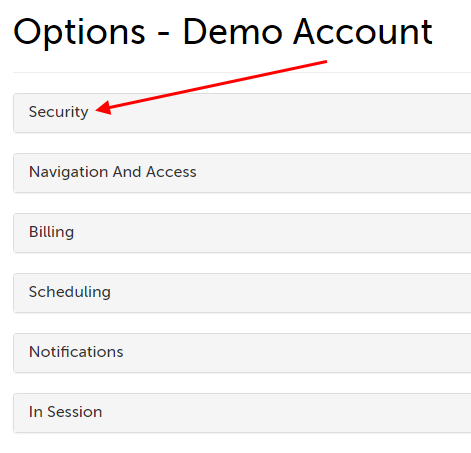
2. Click "Security" to expand that section.
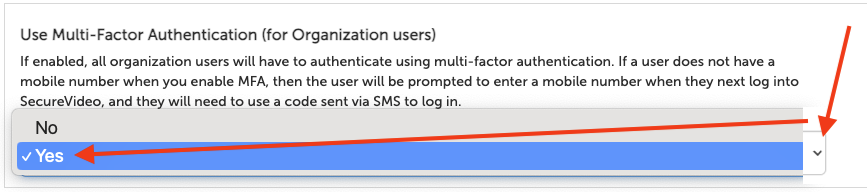
3. Scroll to the option "Use Multi-Factor Authentication" and set this to "Yes" or "No". The change will save automatically.
- If "Yes" is selected, then all organization users with a mobile number in their profile will be prompted to enter a code sent by SMS when they log into their account (see section, Logging in with Multi-Factor Authentication). Users without a mobile number will be prompted to enter one upon their next log in, and then enter the code sent by SMS.
- If "No" is selected, then organization users in this organization will not receive or be prompted to enter a code when they log in.
- "Can Users Override?"
- If this setting is set to "No", then non-Account Administrator users will not be able to enable this option for themselves.
- If this setting is set to "Yes", then any licensed user in this organization can enable this option for themselves; see section, Enable Multi-Factor Authentication (for an individual user).

Enable Multi-Factor Authentication (for an individual user)
Enable Multi-Factor Authentication: For yourself
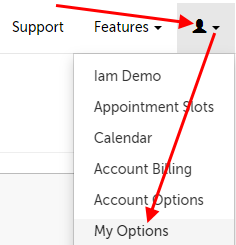
1. Click on the profile icon in the upper right hand corner and select "My Options".
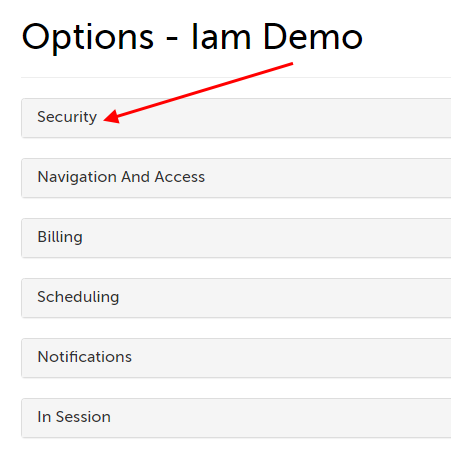
2. Click "Security" to expand that section.
3. Scroll to the option "Use Multi-Factor Authentication" and set this to "Yes" or "No". The change will save automatically.
- If "Yes" is selected, then if you have a mobile number in your profile, you will be prompted to enter a code sent by SMS when you next log into your account (see section, Logging in with Multi-Factor Authentication). If you do not have a mobile number, you will be prompted to enter one upon next log in, and then enter the code sent by SMS.
- If "No" is selected, then you will not receive or be prompted to enter a code when you log in.
Enable Multi-Factor Authentication: For another user in the organization
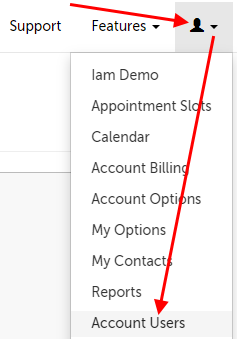
1. Click on the profile icon in the upper right hand corner and select "Account Users".
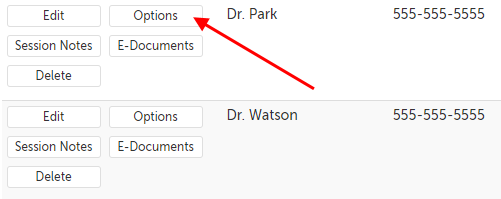
2. Click the "Options" button next to the organization user you want to enable this setting for.
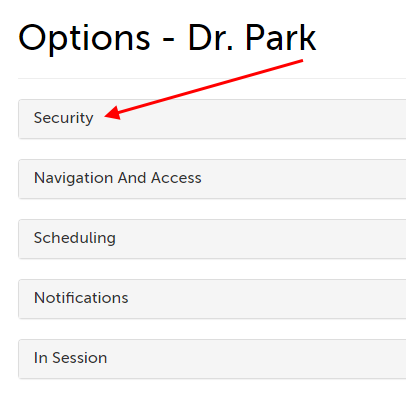
3. Click "Security" to expand that section.
4. Scroll to the option "Use Multi-Factor Authentication" and set this to "Yes" or "No". The change will save automatically.
- If "Yes" is selected, then if this user has a mobile number in their profile, they will be prompted to enter a code sent by SMS when they next log into their account (see section, Logging in with Multi-Factor Authentication). If they do not have a mobile number, they will be prompted to enter one upon next log in, and then enter the code sent by SMS.
- If "No" is selected, then they will not receive or be prompted to enter a code when you log in.
Logging in with Multi-Factor Authentication (mobile number present)
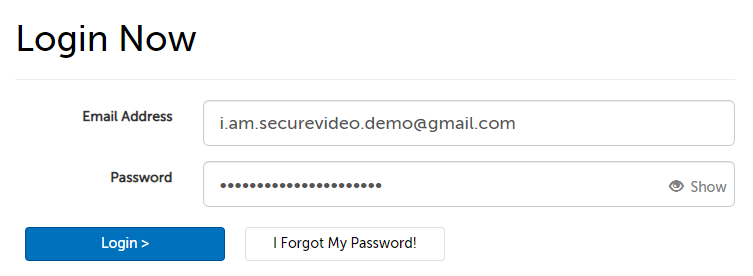
1. Enter your email address and password as usual on the login page, and click the "Login >" button.
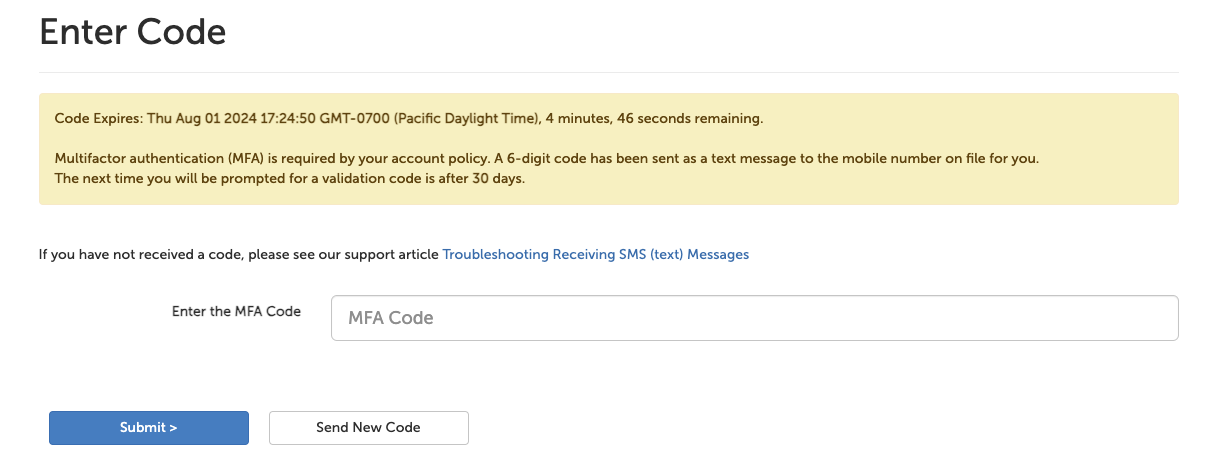
2. You will see the prompt to enter the code. The code expires after 5 minutes.
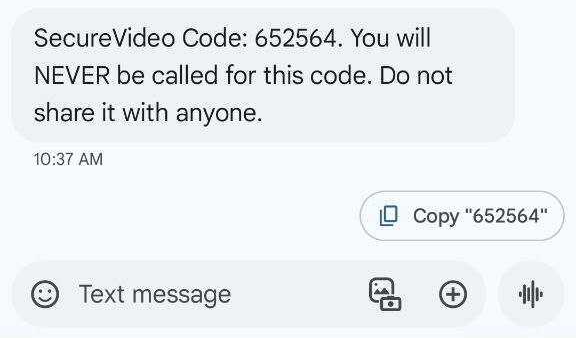
3. You will receive a text message from SecureVideo that looks like this:
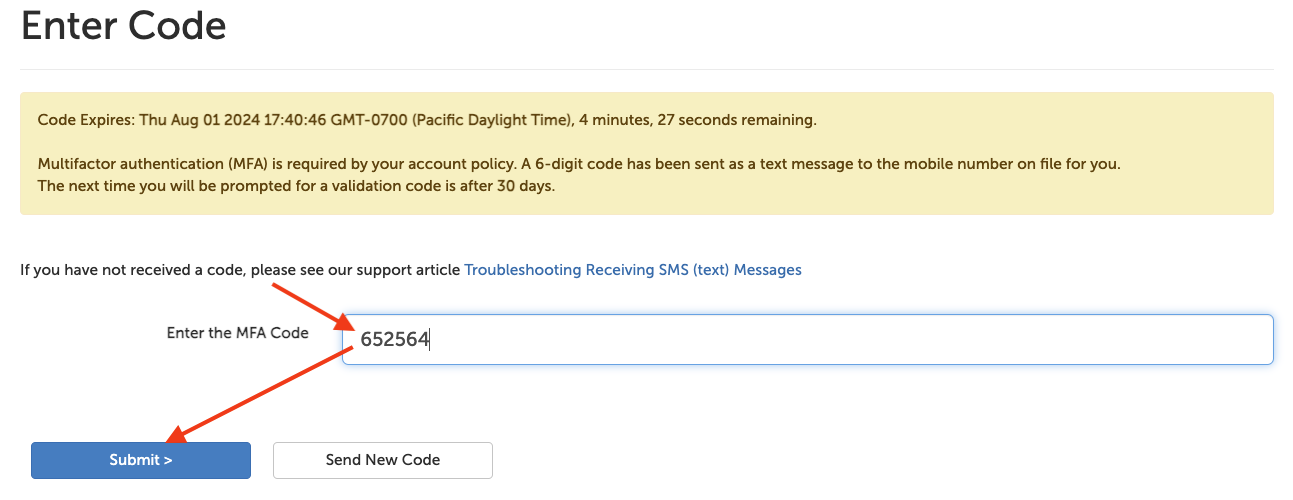
4. Enter the given code into the verification page and then click the "Submit >" button to finish logging in.
Logging in with Multi-Factor Authentication (mobile number needed)
1. Enter your email address and password as usual on the login page, and click the "Login >" button.
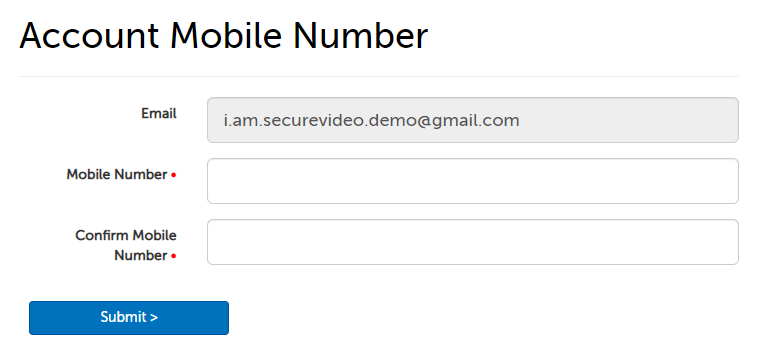
2. You will be prompted to enter a mobile phone number for your user account. Enter the number and click "Submit >"
3. You will see the prompt to enter the code. The code expires after 5 minutes.
4. You will receive a text message from SecureVideo that looks like this:
5. Enter this code into the page and then click the "Submit >" button to finish logging in.
Setting: Multi-Factor Validation Code Expiration
By default, the system will only prompt you for the Multi-Factor Validation Code once every 30 days (if you use the same browser and device). However, this option can be changed.
1. Click on the profile icon and select Account Options.
- If your account has multiple users and you are changing only for yourself, click "My Options".
- If your account has multiple users and you are changing only for one user, click "Account Users". Then click the "Options" button next to the specific user you want to edit settings for.
2. Click "Security" to expand that section.
3. Scroll to the option "Multi-Factor Validation Code Expiration" and edit the number in the box to change the number of days (after a successful code entry) that the user will not be prompted again. The change will save automatically.
- "Can Users Override?"
- If this setting is set to "No", then non-Account Administrator users will not be able to change this option for themselves.
- If this setting is set to "Yes", then any licensed user in this organization can change this option for themselves.

This article was last reviewed by our Support team on July 30, 2024.